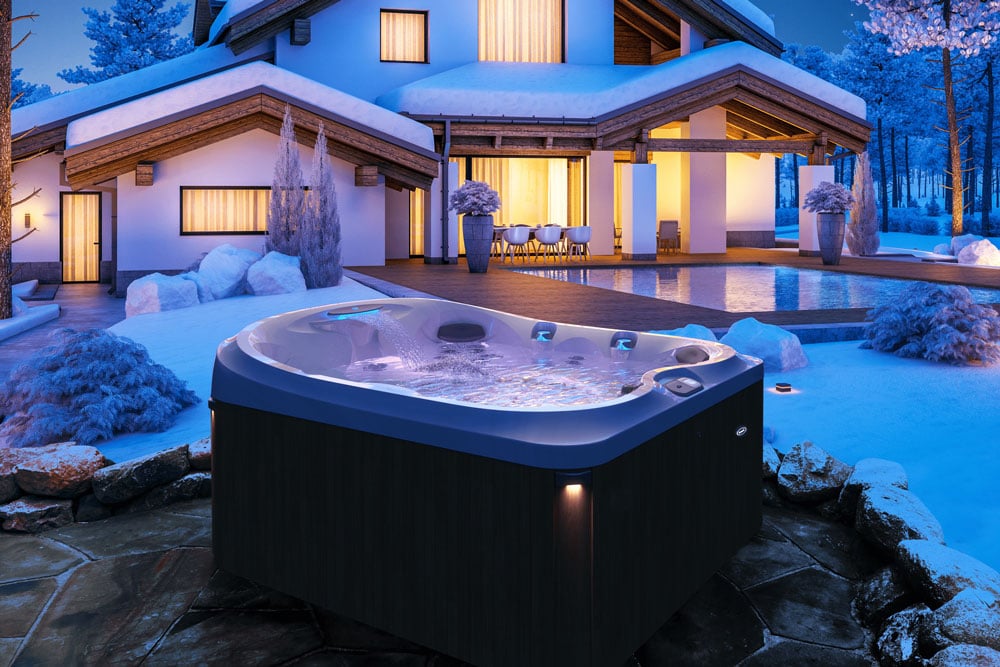
If you are planning on not using your spa for an extended period of time, it is a good time to winterize it to prevent it from freezing or getting mold, and algae growth.
For whatever the reasons may be for wanting to shut down your tub, knowing how to properly winterize your hot tub it is vital to prevent any freeze damage and to ensure the tub remains operational for when you are ready to use it again.
Read below to learn what steps are needed to properly winterize your hot tub.

Tools Needed to Winterize your Hot Tub
- Shop Vac (3HP or Higher) or an air compressor
- Philips and Flat Head Screw Drivers
- Safety Goggles
- Gloves
- 2-2.5 Inch Channel Locks
- Garden Hose and Bucket
Step 1: Let the Current Chemicals Dissipate
Before you drain your water, wait a few days up to a week to allow for any chemicals to disappear. The products you use in your spa can be damaging to local wildlife or nature. Also, as many city drains lead to water sources such as lakes or streams, it is good practice to be aware of any potentially dangerous runoff that may come from your spa water. Plan ahead, test for low to no chemicals beforehand, and help protect the ecosystem around your home and city.
Step 2: Run a Jet Cleaner Through the System
Before you drain it, run a jet clean in the tub. This will make sure that all the interior jets are thoroughly cleaned before the tub is shut down. We recommend Leisure Time Jet Clean as it has no active ingredients that are harmful to the environment.
Step 3: Power Down the Hot Tub and Remove Access Panels
Whether your spa is hardwired or a plug-in style, it is important to make sure the power is off before removing any water. Water and power don’t mix, so don’t forget this very important step!
Step 4: Drain the Water
Drain your tub however you would normally do it. Most spas either have an exterior drain that you can connect a garden hose or a drain port inside of the hot tub that you can run a discharge hose off of.
Once the drain hose is connected, open all the diverter valves to make sure all jets are actively participating in the draining process. Don’t worry about water left in the bottom, you will take care of it in a future step.
Step 5: Clean and Store the Filters
While the spa is draining this is a good time to remove the filters, clean them and store them somewhere safe. When cleaning the filters, be sure to use a pool or spa grade cleaner.
Step 6: Drain the blower and/or air valves (if you have them).
If you have an air blower or airlines on your tub you will want to blow them out as well. If not, you can skip this step.
The steps are as follows: Turn off the heater inside the tub, cover the tub, turn the tub’s power back on, switch the tub on (this will run the blower), run for 30 seconds, then turn the tub off, power down and then take the cover back off.
Step 7: Loosen Union Fittings
Locate the pump(s) and heater assembly. Loosen all unions and fittings to allow the water to drain. Leave them loose. If your pump has a drain plug take it off as well. This will allow for any water that may seep into the tub to find its way out.
Step 8: Remove Water from Plumbing Lines
If you can turn off individual jets, make sure all the jets are open. Using a shop vac, or air compressor, insert the blowing end into every drain, union, jet, and the filter cavity. Blow into each spot for 10-15 seconds.
While blowing, turn the diverter valves from one position to another, opening and closing each jet, this will ensure that all the water is removed. Next, connect the blower to each of the plumbing lines and suction fittings until there is no evidence of water.
Open and close the waterfall, if applicable, to blow it out. When blowing the filter cavity, plug the smaller suction port in the filter and blow the main filter line. Then remove the plug and blow out that line as well. If there are any lines from the pump blow them out as well.
Finally, remove any connections from the heater and blow out the heater line. Leave all fittings and unions disconnected.
Step 9: Remove Standing Water
Use the shop vac or towels to get any remaining standing water from the tub.
Step 10: Clean the Shell and Cover
Be sure to use a spa specific cleaner that is non-abrasive, leaves no residue, and requires no rinsing. Remember to clean under the headrests as well. Let the cover dry out before putting it back on the tub to avoid moisture build-up and mildew
Step 11: Secure Cover
If the tub will be closed for a significant time, consider locks or wind straps. By adding these you will ensure that nobody accidentally opens the cover and allows water back into the hot tub.
If you want to be extra precautious, you can put a gallon or two of pool/spa grade antifreeze into the bottom of the hot tub and filter cavity. As long as all of the steps above were completed correctly, the antifreeze is not necessary.
If you are unsure if winterizing is the best step, or if you aren’t comfortable doing it yourself, AquaVision Pool & Spa has professionals with expertise in this area.
Contact us today by calling 336-691-0111! Our Experts are here to help!
Disclaimer: These instructions are only a general guide and may vary from manufacturer to manufacturer. Be sure to check your manufacturer specs and instructions before you do any work.

/brands/swimlife-swim-spas/features/variable-current.jpg)

 by
by 
